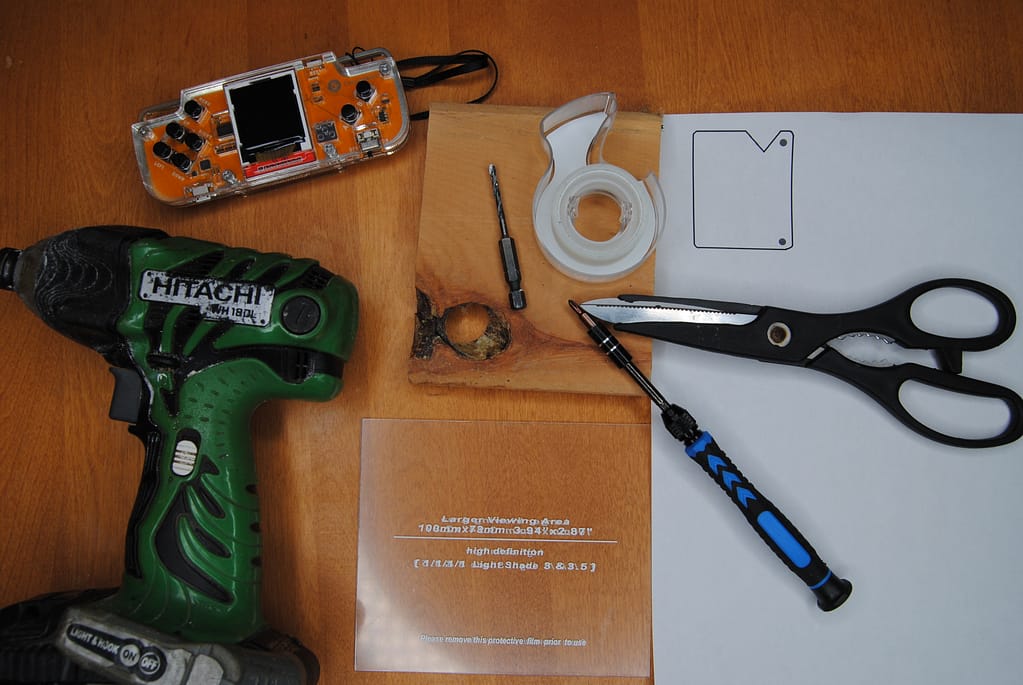
Materials
-CircuitMess Nibble
-screen protector template
-welding visor replacement lens
-drill
-1/8 drill bit
-phillips screwdriver
-clear tape
-sharp scissors
-block of wood
-hobby knife or exacto knife
-microfibre cloth
-double sided sticky tape

First step is to gather our materials. The biggest part will be the welding visor replacement lens. These are around $4-6 (CAD) and can be found in farmer/auto hardware stores or online.
You will also need the custom template print found on our website this will be our guide for our screen protector.
To start the build, we cut out the template from the page and then tape it face down on your welding lens with the lens cover plastic still on. I like to line up two of the flat edges along the edge of the welding lens. See picture below.

After the template is attached, we cut the lens with our scissors. The slower the cut the better. If you go fast, there is a chance that the lens can create cracks or fractures.

Once you are done with the other two edges, cut out the triangle for the speaker/buzzer.

I round down the edges after I am done cutting. This helps prevent the screen protector from catching on anything when you put it in your pockets.

Warning! This next step should be done with someone who can use a drill safely.
We place the screen protector onto our block of wood. This block of wood is used to protect whatever surface you are drilling on. The welding visor material is thin and is easily drilled through.
Place your 1/8th drill bit (or similar metric bit) overtop of the black circles on the template. Make sure your bit is placed in the center and ensure that your other hand or a clamp is holding the screen protector down firmly on the wood.
Note: if the screen protector is not held down, it will spin around when trying to drill

Slowly drill your holes into the screen protector, you have more control the slower you go.
Now that you have your holes in, you will notice that there will be some plastic popping up from the drill holes. Use your hobby knife to clean up the plastic.
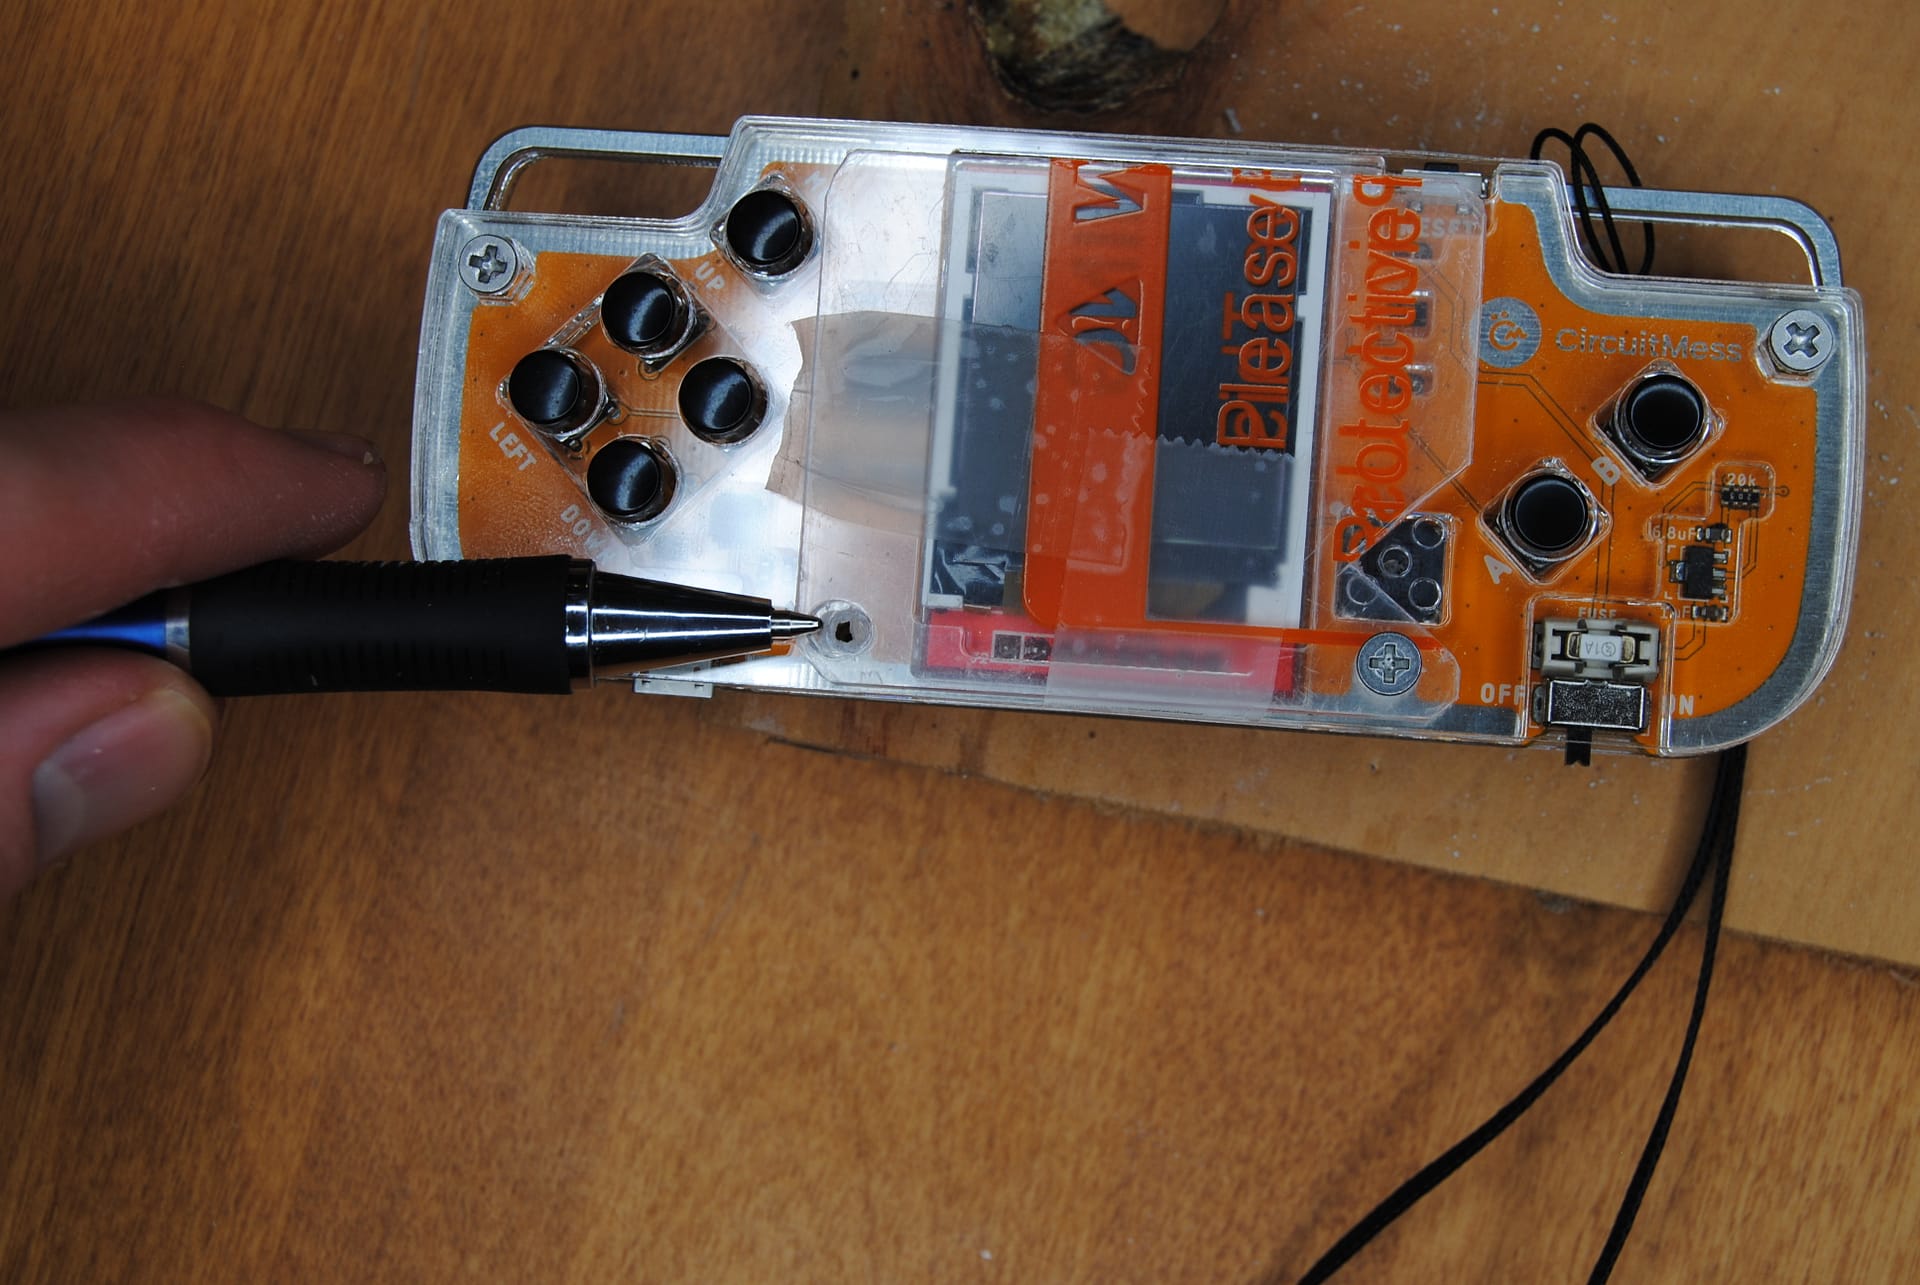
Leave the plastic that is covering the lens to check that you have drilled the holes correctly. Unscrew the two screws below the screen on your CircuitMess Nibble and test your screen protector.

If your screws line up correctly, go ahead and peel the plastic layer off your lens. Wipe the screen on the Nibble with your Microfibre cloth to ensure it is clean.
If you want your screen protector to stay on, add two strips of double-sided tape along the left and right sides of the screen. Then attach your screen protector in by screwing it in place and adhering it to the tape.

Congratulations on your new screen protector.
Let me know how your build went. What worked, what didn’t? Did you make any changes to the design? Comment below!
If you enjoyed the build keep watching the website and subscribe to our Facebook page to see all our new builds. See our Nibble review here!
Sneak peak: Over the next couple months we will be building a custom shell for the Nibble.


Recent Comments